Preparation before first use
- Wipe all parts with a soft cloth and rinse lightly with water.
- Use the tool provided with the portafilter to ensure proper fit.
・Please flush the ARCO once before using it. Pour water into it with the pressure lever down and check that there are no leaks. Once you have confirmed that there are no leaks, raise the lever to push out the water inside the unit and check that the lever works.
Espresso Extraction Procedure
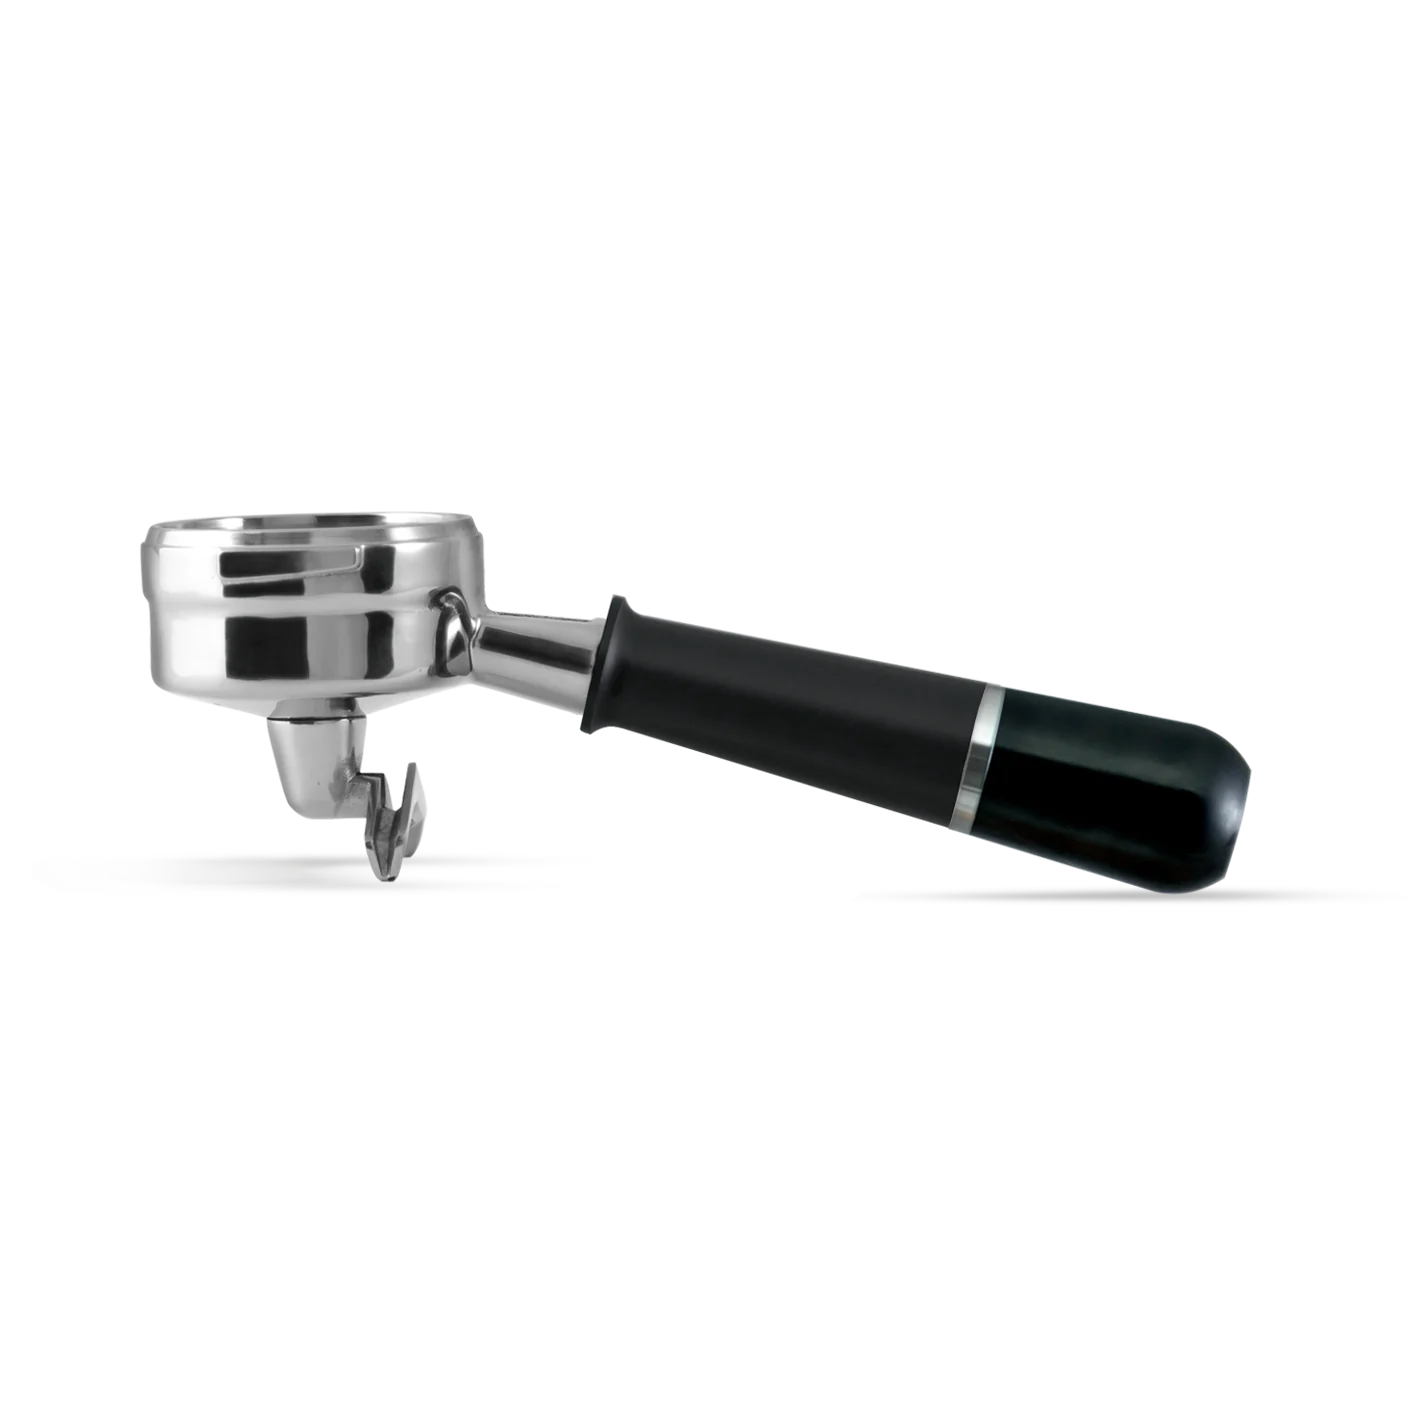
- Fill the portafilter with ground coffee (approximately 16-21g is recommended).
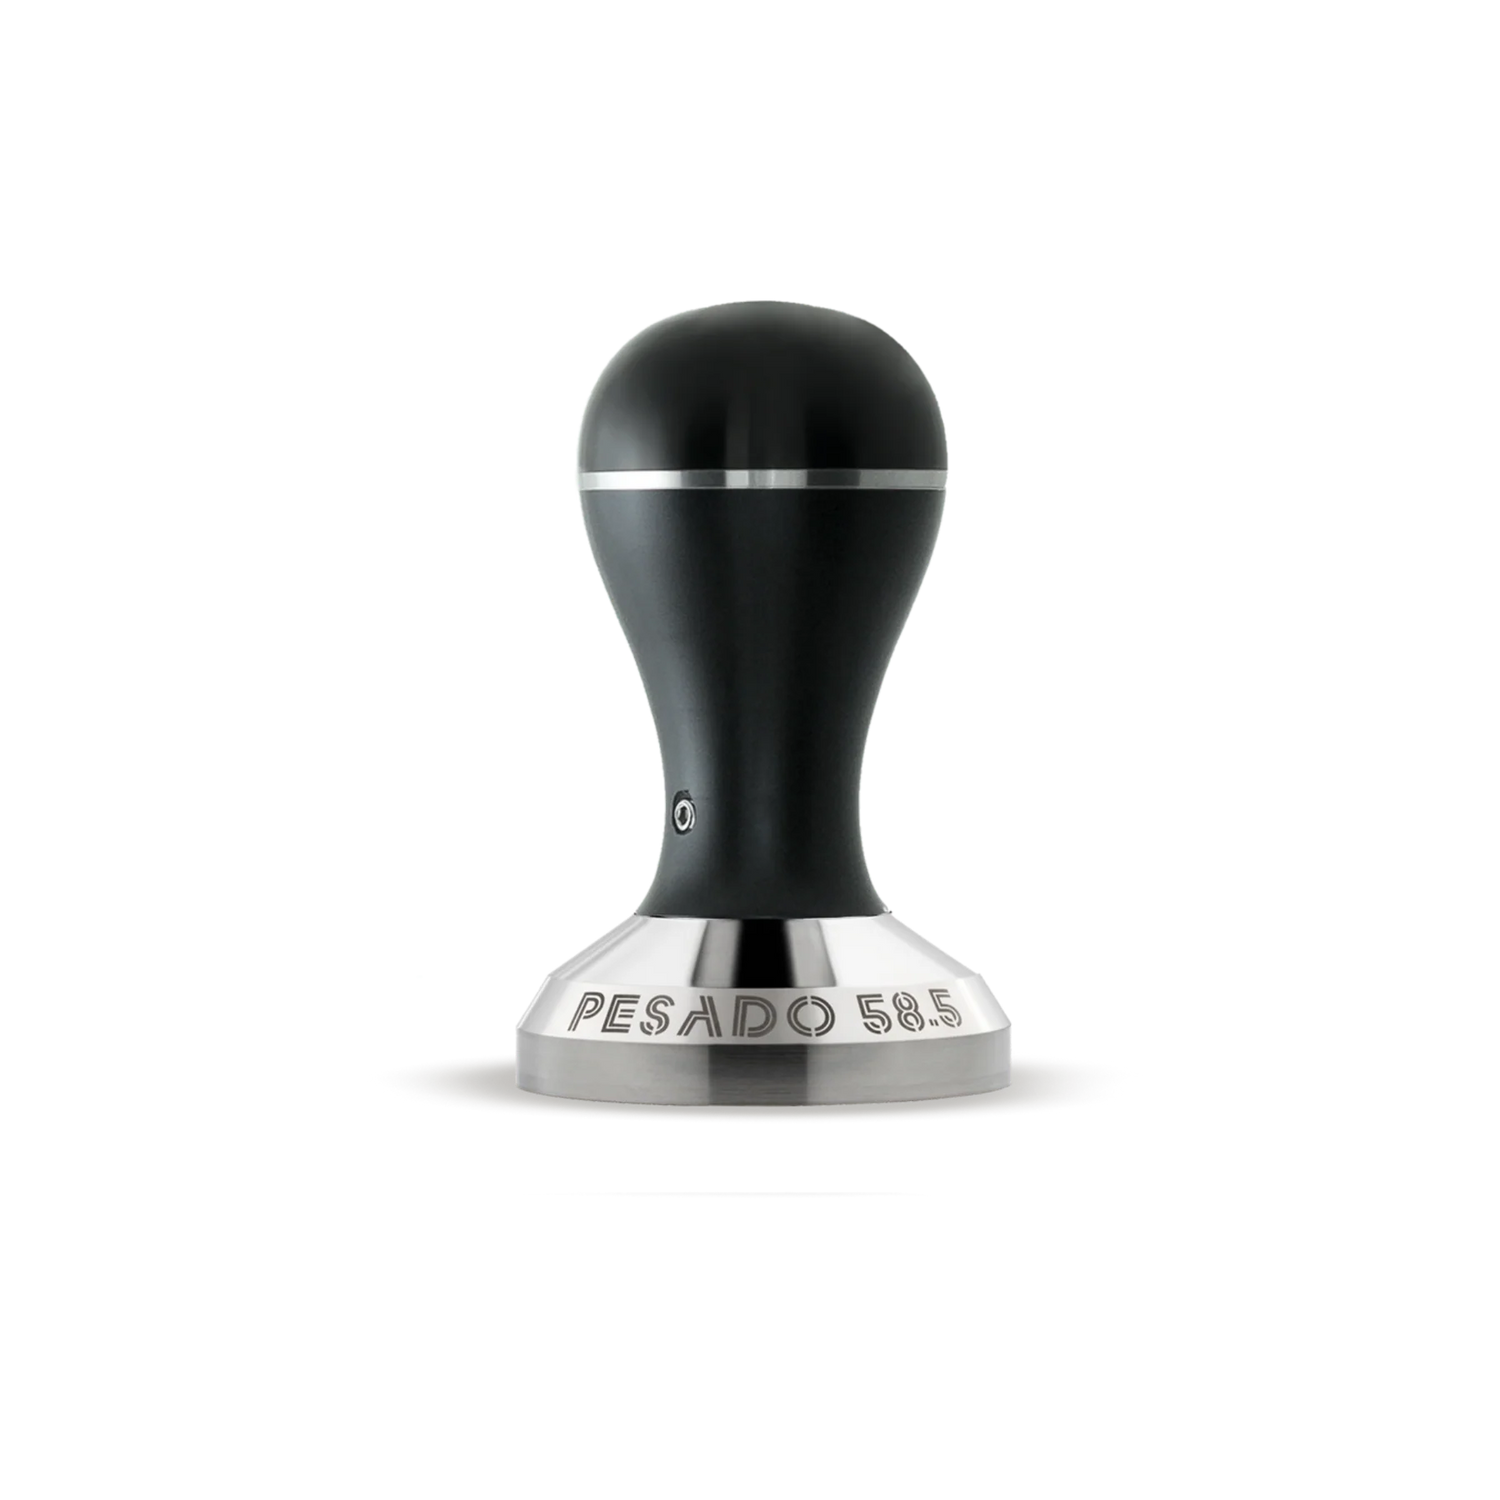
Press evenly with a tamper.
-Preheat the pour unit by adding hot water.
Once the unit has been preheated sufficiently, drain the hot water and insert the portafilter.
-Fill the pore unit with hot water of the appropriate temperature (87℃ to 92℃ is recommended) and set it.
・Pull up the pressure lever. When you pull it up, hot water will flow into the main unit.
- Press the pressure lever slightly and then stop the lever while still applying pressure to steam the coffee beans.
- After sufficient steeping time, apply pressure at a constant rate to extract the coffee.
・Pour the extracted espresso into a cup.
- Move the pressure lever up and down several times to drain any hot water remaining in the main body.
Maintenance and cleaning
●After each use <br/>Clean the portafilter and drip tray.
● Removal and replacement of pump parts
(1) Removing the pump parts First, run water through the main body to make the pump easy to slide around.
With the lever slightly raised, use a special screwdriver to remove the screw.
Insert the prongs of the screwdriver into the screw hole and turn to remove the screw.
(2) Hold the pillar and pull it upwards to remove the entire pump part.
*Since it requires force to pull out, please be careful not to hit your arms or fingers or allow the unit to fall over.
(3) Replacing the pump part: Use a screwdriver to remove the screw on the bottom of the pump part.
Attach the prongs on the screwdriver and turn it while holding the post to remove the screw.
When replacing the pump, attach the new pump to the post and tighten the screws. *If the screws are loose, extraction may be affected, so make sure they are tightened before attaching the pump to the main unit.
(4) Align the joint of the mounting column with the main body and the joint of the lever, then push the pump into the main body.
Insert the lever into the joint of the pillar and push it into the middle of the cylinder.
Attach the screws and secure them firmly with a dedicated screwdriver.
Finally, move the lever to check that it is working properly before using it.
How to remove the mounting parts and replace the silicone parts
(1) Remove the mounting parts. Remove the mounting parts using the included hex screws.
Turn it clockwise to remove the screw.
*Please be careful to hold the mounting parts while removing the screws, as it may be dangerous if the parts come off and fall.
[2] Explanation of each part: Mount parts, Silicon parts (thin)
・Shower head ・Silicone parts (thick)
Silicon parts are consumables.
If wear occurs and affects extraction, replacement parts will be sold separately, so we recommend replacing them regularly.
[3] The orientation of the silicone parts and shower head can only be aligned in one direction: front, back, top, bottom, left, right. Please make sure to attach each part so that it is perfectly aligned with the four screw positions.
Attach the silicone part (thin) → shower head → silicone part (thick) to the mounting parts in this order.
*Please be careful not to install the silicone parts in the wrong order.
[4] Attaching the mounting parts. Align the mounting parts with the position of the pillars and attach them to the main body, being careful not to shift the assembled internal parts.
*If any internal parts become misaligned during installation, please push them back in place before reinstalling.
Use the included hex screws to attach the screws.
Tighten the screws firmly to complete the assembly. Make sure that the mounting parts are attached without any gaps before extracting.